

Is there anything better than fresh bread? I would argue “no”.
The smell, the sound, the feel, the taste…it is unbeatable!
However, in our little town, we do not have a fresh bread bakery and sadly the bakery counter at Walmart is just not quite the same. And the loaf of sliced bread is not exactly what we are talking about here.
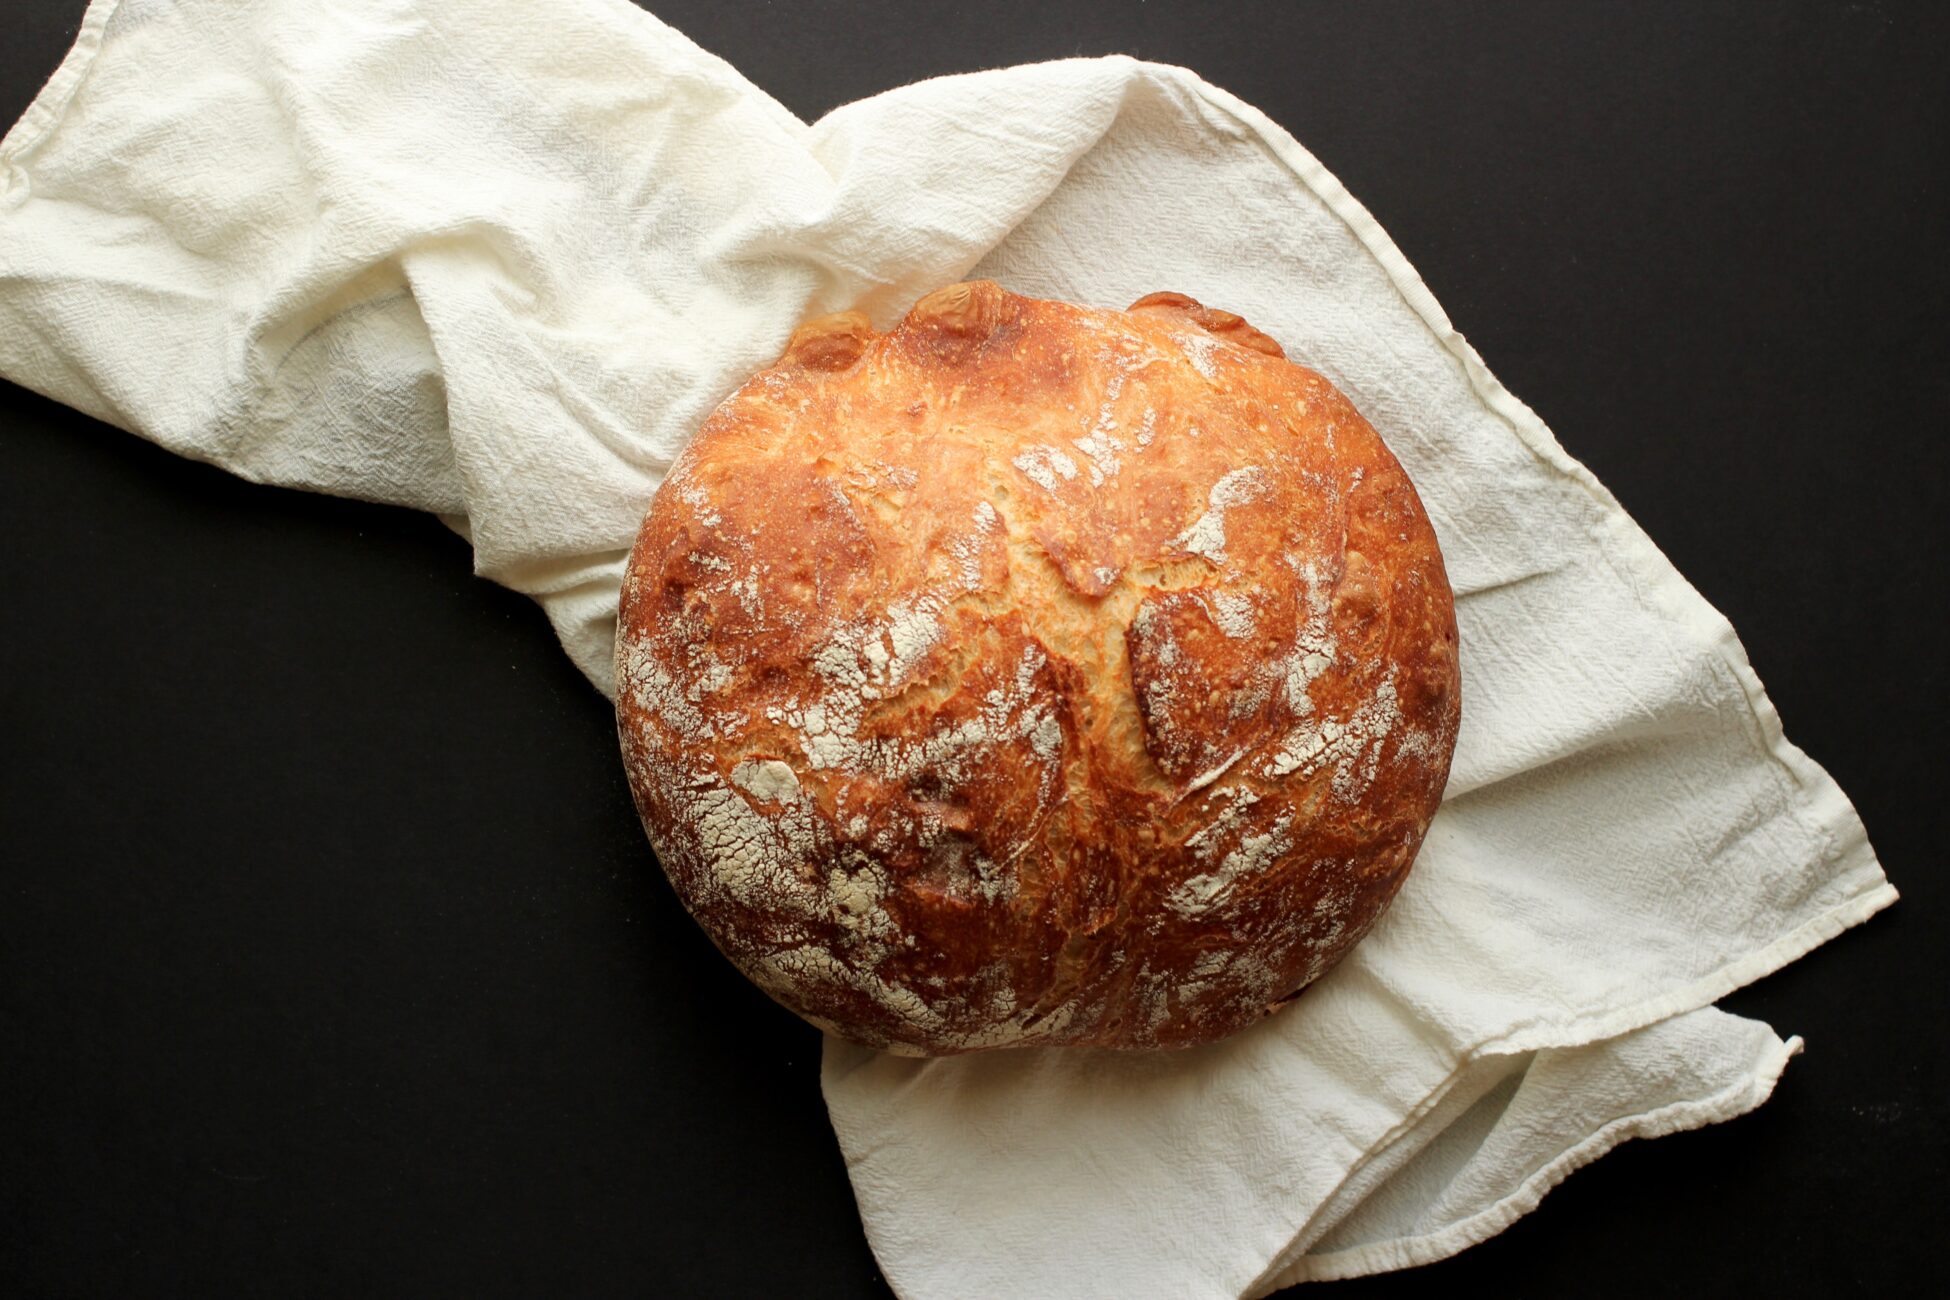
But making bread can be daunting. It takes time, carefully measured ingredients, specific temperatures of water, and so on. This less-than-easy task can scare away even a brave home cook. However, I was elated when I came across this idea of the “no knead bread”. 4 simple ingredients with a little bit of resting time and a beautiful, flavorful, soft and crusty loaf of bread created!
This recipe has become near and dear to me. During the Fall, I make it almost weekly. William and I enjoy some grilled cheese made with this bread on Friday nights, and we snack on the rest of the loaf throughout the weekend. How fun is it that we get to have homemade bread waiting on us?
Now…I dare you to make a loaf. No…I double dog dare you because you are sure to love it just as much as we do.
Bon Appetit!
Print Recipe
No Knead Bread
Ingredients
- 4 cups all-purpose flour
- 1 teaspoon active dry yeast
- 2 teaspoons salt
- 2 cups water (room temperature)
Instructions
- In a large bowl, stir together flour, yeast, and salt. Make sure the bowl has ample room for the dough to grow.
- Gently stream in the water. Using a wooden spoon, mix the dough until it just comes together. It may have streaks of flour and look very dried out, but this is good! Make sure you do not have any large pockets of flour left unincorporated, and then stop stirring.
- Cover the bowl tightly in plastic wrap and let it rest at room temperature for 12-15 hours. When you return, the dough will be flat on the surface and covered in bubbles.
- When you are ready to bake, preheat the oven to 475 degrees. Place a 5-quart dutch oven in the oven while it preheats. Leave the dutch oven in the oven for about 30-45 minutes after the oven is preheated.
- While the dutch oven is preheating, finish shaping the dough.
- Lay a piece of parchment paper on the counter and lightly sprinkle with flour. Gently tilt the dough out of the bowl onto the floured parchment paper. With floured hands, gently shape the dough into a ball shape. No need to knead here! Dust the top of the dough with flour and cover with plastic wrap or a clean, lint-free tea towel.
- Let the dough rest until the dutch oven is ready, about 30 minutes. The dough ball will likely spread out and that is fine.
- Carefully remove the dutch oven from the oven. Remove the lid and set to the side.
- Pick up the parchment paper by all four corners and place it inside the dutch oven. Remember the dutch oven is still hot!
- Place the lid on top of the dutch oven and return it to the oven.
- Bake covered for 45 minutes. Then, remove the lid and bake for another 10-15 minutes, or until the bread is a toasty brown color.