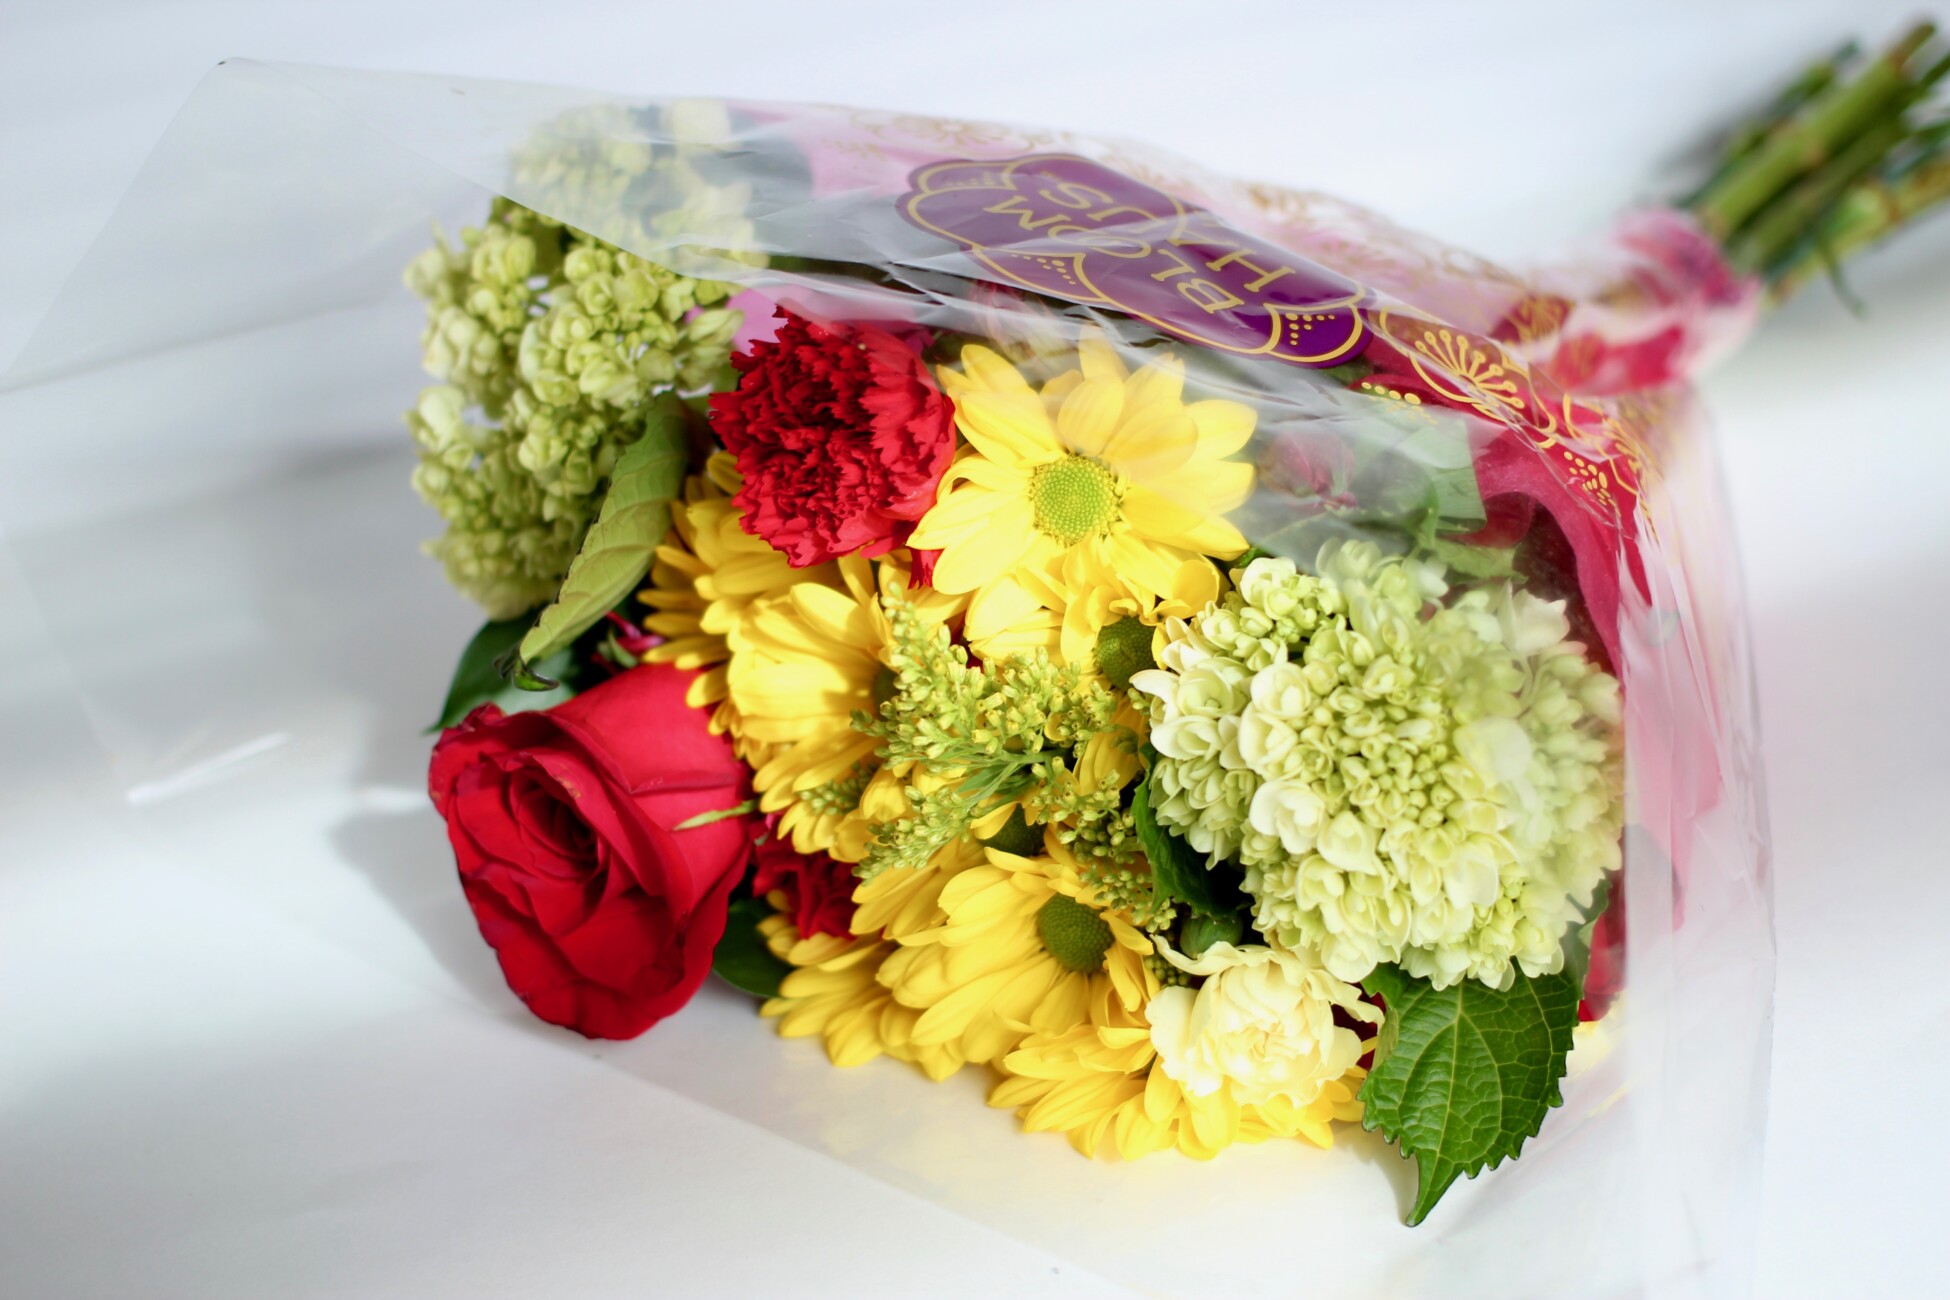
Do you want to know the easiest way to make your house look pulled together? My little secret? Grocery Store Flowers. Gasp! I know! It’s very revolutionary.
I think these little guys tend to be highly underrated. While I am sucker for a nicely arranged vase from a local flower store or an online flower company, I really enjoy the simplicity of grocery store flowers. And I think my bank account appreciates it too. Subscription flower orders can be pricey and a thing of luxury! So I decided to make my own affordable version of luxury.
I used to view grocery store flowers as cheap and ugly, usually all bunched and browning. But I have learned a few tricks along the way and I have found them to really work! Because guess what…they are still flowers! Flowers!
Now I have to admit, we have a Walmart right next to our apartment. It is a quick trip and very convenient. However, they don’t sell flowers at our store. About once every week or two, though, I will make the trek to Kroger or Publix for the good meat and produce. And while I am there, they always have a large variety of fresh cut blooms available.
Fresh Flowers right at home…
One thing I love about having fresh cut flowers is the versatility. You can create a beautiful and full centerpiece for your dining table. Or you can put a stem or two in a small vase and it makes the perfect end table accent. A few blooms in the bathroom will make the space instantly feel fresh and clean!
But today, I want to focus on “fluffing” your grocery store bouquet to look more dramatic and elegant. All it takes is a bunch of flowers, a wide-mouth vase (thin at the bottom, widening at the top), and a bit of tape.
It is important to have a vase that is narrow at the bottom and widening at the top, as this allows the flowers to really sit more naturally.
Take the rubberband and plastic off of the flowers. Carefully separate the flowers, making sure not to tear off any of the blooms. Lay them gently on a clean counter.
First…
Starting with a clean vase, tape 2 lines of tape across the mouth of the vase. Repeat these 2 pieces of tape on the perpendicular side. This will create a small grid. (Use 3 or 4 pieces of tape for a larger vase and more flowers!)
As a rule of thumb, all stems should be cut about 1.5x the height of the vase. Also, be sure to cut all of your stems on a diagonal. This ensure the cut is fresh, so the bloom can fully absorb the water. Also, it ensures the end is not flat against the wall of the vase, where water cannot get in.
Last tip, remove leaves on the low part of the stem that will be sitting in water. Leaves that are sitting in the water will begin to rot and cause the flowers to wilt and die sooner.
Second…
Begin with the greenery. If the stem is flexible (like silver dollar eucalyptus or Italian ruscus), gently bend it to loosen it. Be gently, though! You are not trying to break it. Also, I recommend saving a few pieces of greenery for the end. Cut the stem to the appropriate length, on a diagonal. Remove any low leaves. Place the greenery in the outside holes of the grid. Try to place the stems on a diagonal inside the vase, so the greenery hangs over the side of the vase.
Third…
Next, take your focal flower or your biggest blooms and trim them to length. Remove any low leaves. Place your dominant flower(s) in and around the center of the grid.
Fourth…
Then, take your secondary flower and arrange in around your focal flower. Cut the stem to the appropriate length, on a diagonal. Remove any low leaves. Make sure the secondary flowers are the appropriate length to create your desired shape of bouquet.
Finally…
Take the filler flowers and fill in the holes and gaps in the current flowers. Cut the stem to the appropriate length, on a diagonal. Remove any low leaves. Add the reserved pieces of greenery to the middle and top of the bunch of flowers, to create a natural look.
Gently lift up some of the greenery and flowers on one side and fill with cool, clean water.
Enjoy your colorful dash of luxury!


