

As I mentioned last week, growing up in Michigan, I always had a desire to move south and embrace all things Southern.
I have lived in Alabama for four years now. Time and time again I have tried to make biscuits and I could never get them right. They would come out dry, tough, unrisen, flavorless…you get the point. They were not what I wanted AT ALL. Everyone I met would swear by their method. Some are self-rising flour purists, some say the trick is to only use shortening, some use a spoons, while others just their hands.
I feel like I have tried just about every biscuit recipe out there, and I have finally created one that works for me. I can finally say I am a real Southern wife – making my man biscuits on a Sunday morning – I can do it!
What is more Southern than homemade biscuits?
This was a big time accomplishment for me. Which may seem silly because it is such a simple little thing. But it is so nice to have this recipe in my back pocket to whip out for a fancy breakfast, a quick dinner, or an easy (and oh so delicious) snack.
Now…these biscuits. I like to roll up my sleeves and get my hands dirty (these biscuits are on the only times I remove my wedding ring). After trying numerous ways of mixing the dough, I have found using my hands to yield the lightest and most consistent biscuit every time. The BIGGEST KEY to biscuits is not to overmix. It seems like just about every recipe says that. But for biscuits…I mean it, sister!
Carefully, gently, delicately use folding motions and light mixing. Do not squish, scrunch, or beat the dough. Treat it like a flower petal, and it will be worth it!
Another key is to keep the butter COLD. Keeping the butter cold allows layers to form. If the butter softens, it will begin to incorporate into the flour, making tough biscuits. I think it is also helpful to use cold buttermilk to make sure the butter stays cold. Try not to knead the dough with your hands too much, as your hands put off heat!
I get my hands in the bowl to mix the dough, until barely combined. Gently, turn the dough out of the bowl onto a floured work space. Use 4-5 folding motions to create layers in the dough. Press that biscuit cutter down (but don’t twist it! It makes the layers stick together, so you will not get a big rise). Bake. Smother in butter (or my favorite, honey) and enjoy with everyone around you.
Now, let’s get to it. Biscuits. A little messy, a lot delicious.
Print Recipe
Buttermilk Biscuits
Ingredients
- 2 cups all-purpose flour (I recommend White Lilly)
- 1 tablespoon baking powder
- 1/2 teaspoon baking soda
- 1/2 teaspoon salt
- 1 tablespoon granulated sugar
- 7 tablspoons butter, cold
- 1 cup buttermilk, cold
- 2 tablespoons butter, melted
Instructions
- Preheat the oven to 425 degrees F. Line a baking sheet with parchment paper.
- Add the flour, baking powder, baking soda, salt, and sugar to a medium bowl. Whisk to combine.
- Using a grater, grate the 7 tablespoons of cold butter into the flour mixture. About every 2 tablespoons, gently toss the butter to coat the pieces of butter in flour and reduce sticking (it won’t be perfect — that’s okay!).
- Once the 7 tablespoons of cold butter is all grated into the flour mixture, gently toss the contents of the bowl with your fingertips to distribute and mix. Do not apply any pressure. Just lightly toss. Less is more.
- Pour in the buttermilk.
- Using your fingers, gently, very gently, mix the dough until barely combined. There will be large streaks of flour — that is okay!
- Turn the loosely mixed dough out onto a floured surface.
- Gently shape the dough into a circle. Starting on one side, fold the dough over and lightly push down (just until the dough sticks together).
- Repeat this folding process about 4-5 times. The final shape of the dough should be a rectangle. The dough should be roughly 3/4 to 1 inch tall.
- Using a biscuit cutter, cut 6 biscuits out of the dough. Lightly dust your biscuit cutter in flour to prevent sticking. Push straight down on the dough and pull straight back up. Do not twist and turn the biscuit cutter. This will cause the layers (that you just worked so hard to create) to stick, and restrict the rise.
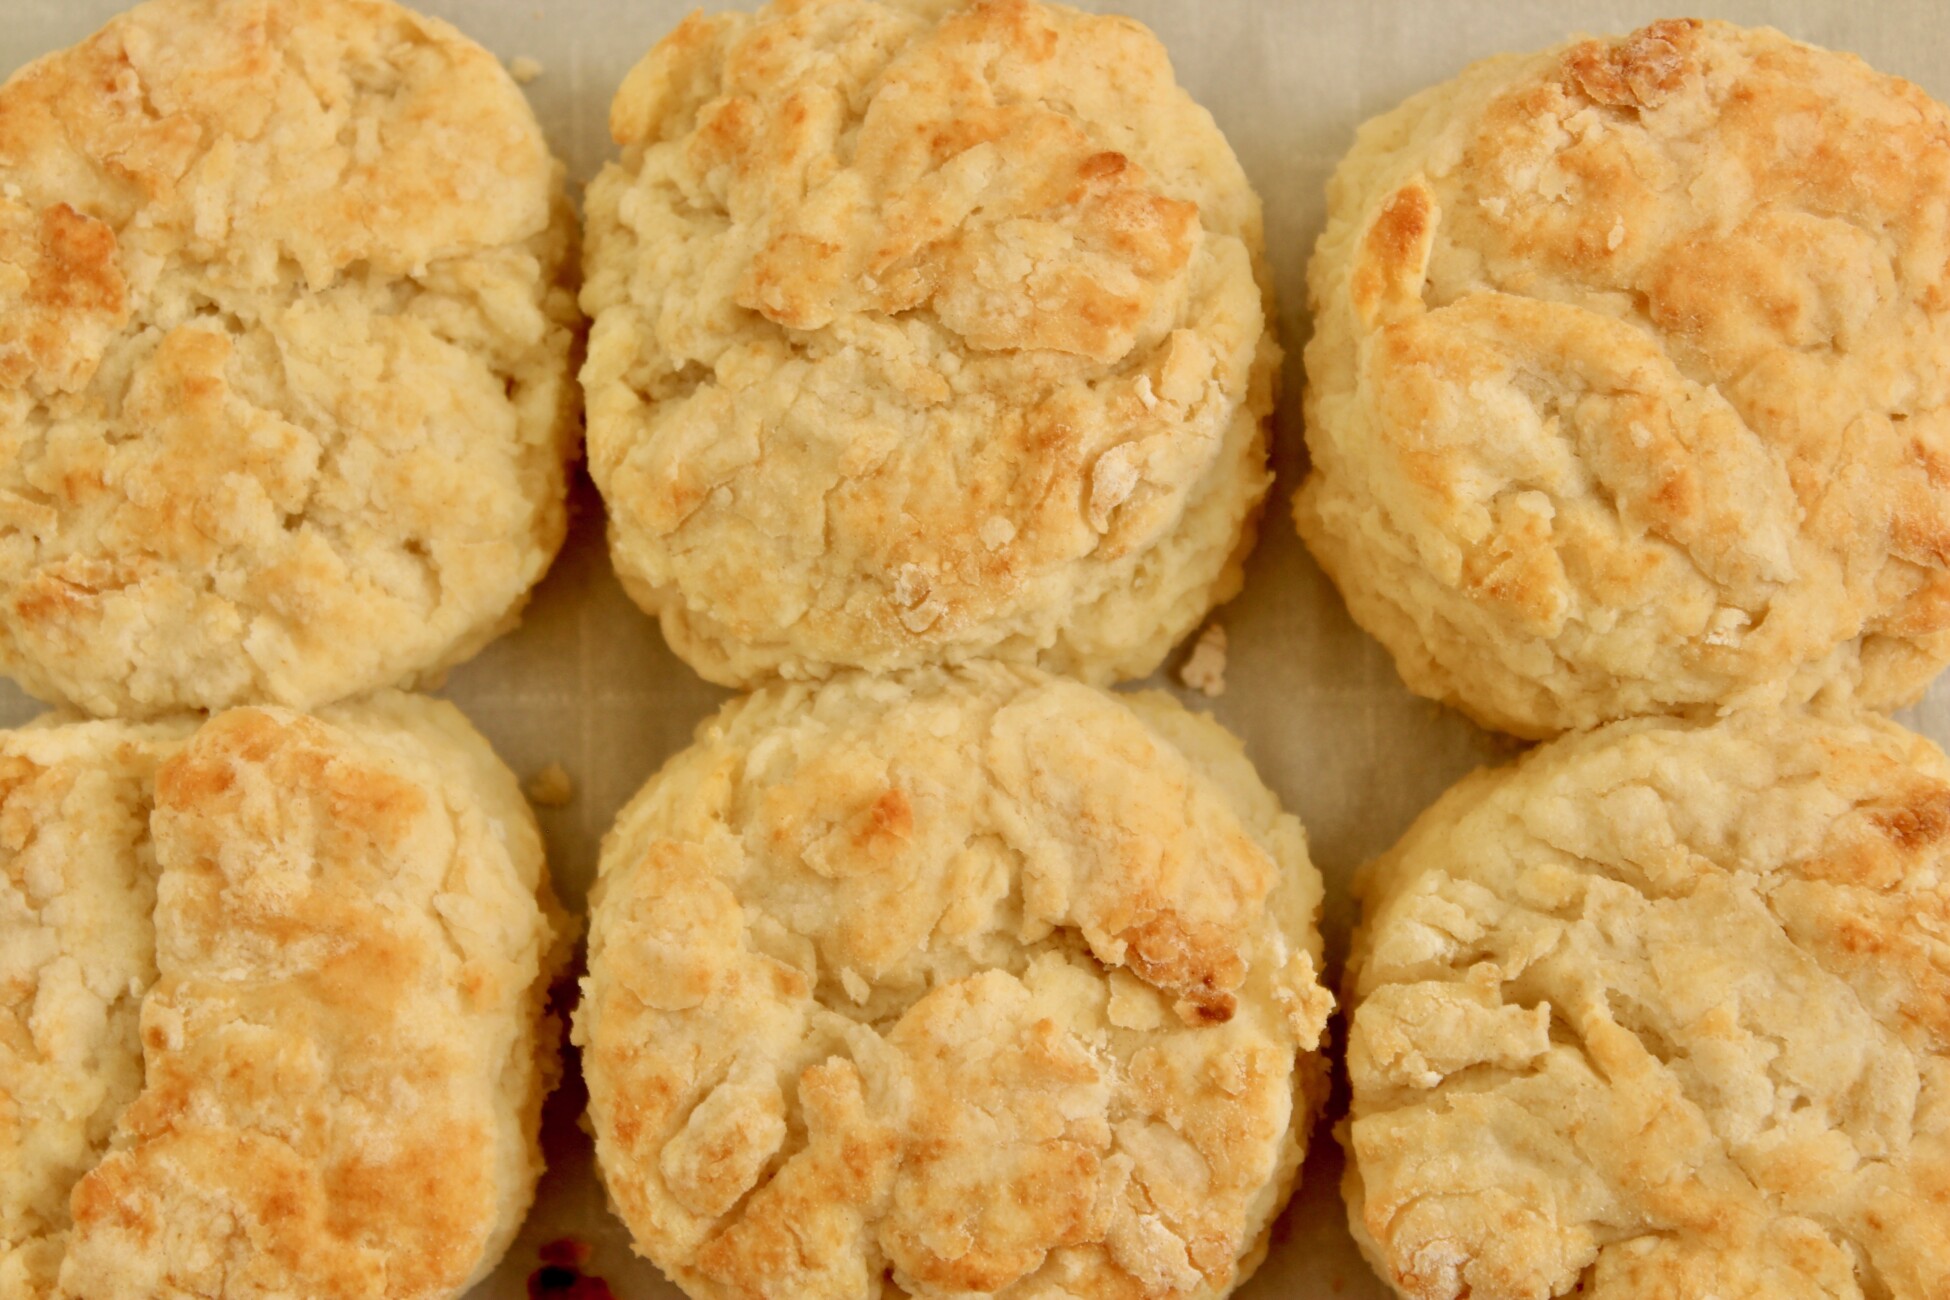
- Place the 6 cut biscuits on the prepared baking sheet, with the sides touching. The biscuits touching will help each other climb high!
- Bake for 14-16 minutes, or until the bottoms are lightly browned and the biscuits are golden.
- While the biscuits are in the oven, melt the remaining 2 tablespoons of butter. Once the biscuits are removed from the oven, generously brush the melted butter onto each of the biscuits.
- Best served immediately.